
E-Stim Connect is the software that allows you to connect an E-Stim Systems 2B to our E-Stim Connect Server, and thus allow a remote partner to control your 2B over the Internet.
Although E-Stim Connect has been developed and tested on on Windows 10, it has been tested on Windows 7, and should work on Windows 8 and 8.1. We also offer support for E-Stim Connect on a Mac and offer E-Stim Connect for Linux, although the Linux version is not actively supported at this time.
Antivirus Software
In common with many other applications and programs you may need to disable your Antivirus software and have admin permissions in order to install E-Stim Connect. Once the software has been installed correctly your Antivirus can be switched back on.
Install from a USB Stick
If you have been supplied with E-Stim Connect on a USB stick then plug the USB stick into a spare USB port on your computer, navigate to the USB stick directory and double click on 'Setup E-Stim Connect.exe'
Depending on your security configuration you may see the following warning:
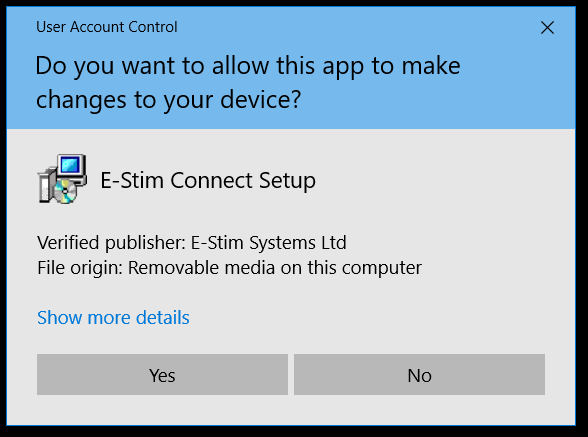
Check that the Verified Publisher is E-Stim Systems Ltd, and if you are happy then choose 'Yes' to continue. Do not run E-Stim Connect if the verified publisher shows anything else other than E-Stim Systems Ltd.
Installing from an Internet Download
If you have downloaded E-Stim Connect from the internet then you might see a slightly different security warning depending on your security settings. You may see this:-
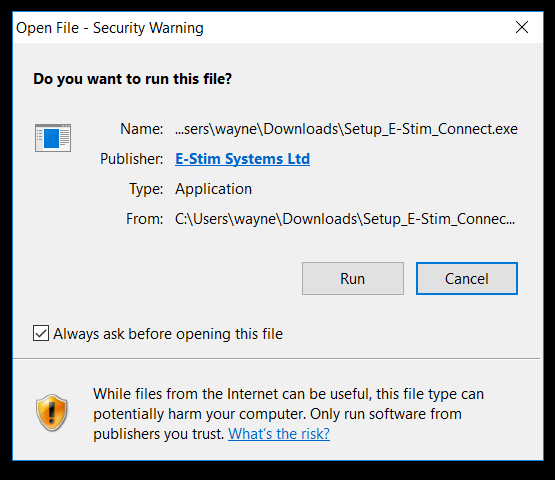
Again, check that the Verified Publisher is E-Stim Systems Ltd. Do not run E-Stim Connect if the verified publisher shows anything else other than E-Stim Systems Ltd. If you are happy then choose 'Yes' to continue.
Alternatively you may get a warning like this:-
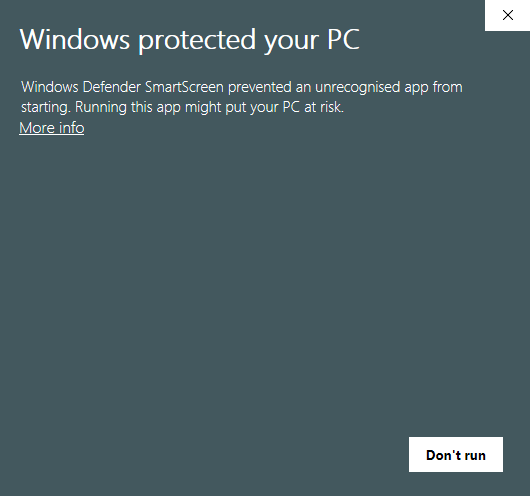
To be able to run the installation you will need to click the 'More Info' link and you will get a screen like this:-
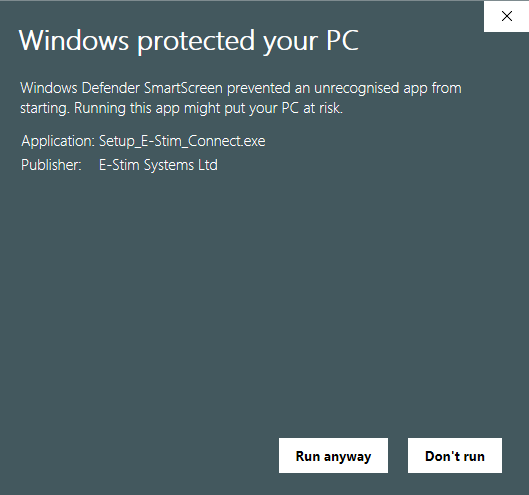
Check that the Publisher is E-Stim Systems Ltd. If it is and you are happy to continue click 'Run Anyway' to continue and start the installation. Do not run E-Stim Connect if the verified publisher shows anything else other than E-Stim Systems Ltd.
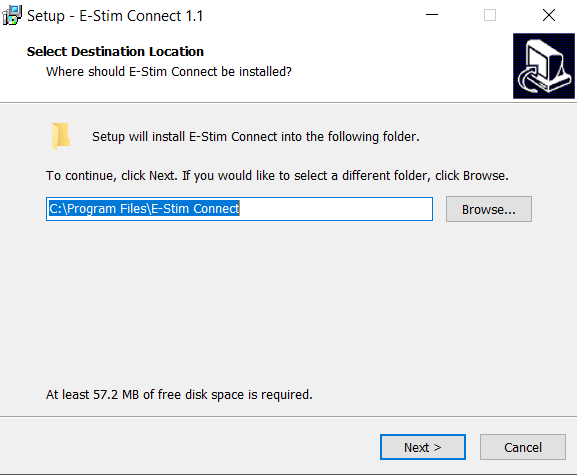
Choosing Install Location
The first screen you will see should ask you where you want to install E-Stim Connect, by default this will be on your system drive in the Program Files folder, unless you want to install it somewhere different then simply click 'Next' if you wish to change the location then click on the 'Browse' button and navigate to the location you want to install E-Stim Connect.
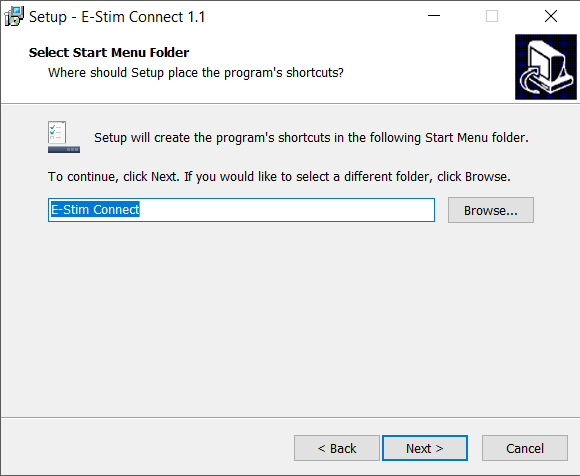
Choosing Menu Location
Next it will offer you the option to change where E-Stim Connect creates a program shortcut in the Start Menu, this can be left as it is unless you specifically want to put it somewhere else. To continue simply click the 'Next Button'
Desktop Icon
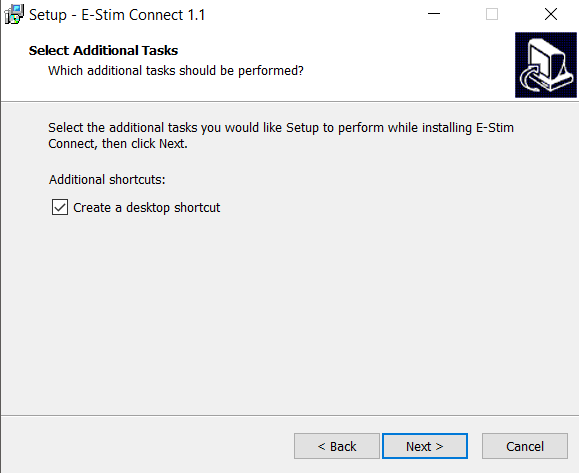
Tick the box if you want the installer to create a desktop icon for E-Stim Connect, and then click 'Next'. You will now either see this if you checked the box to install a desktop icon, or
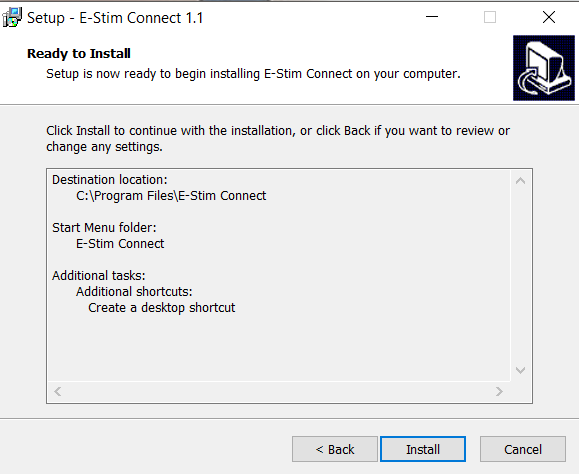
this if you didn't tick the box to install a desktop Icon. Click the 'Install' button to proceed.
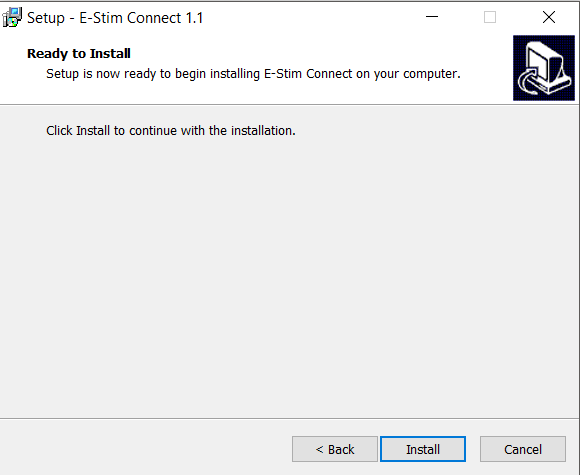
E-Stim Connect will now install. Depending on the speed of your computer this may take a few minutes. Once E-Stim Connect has installed you should see the completion screen.
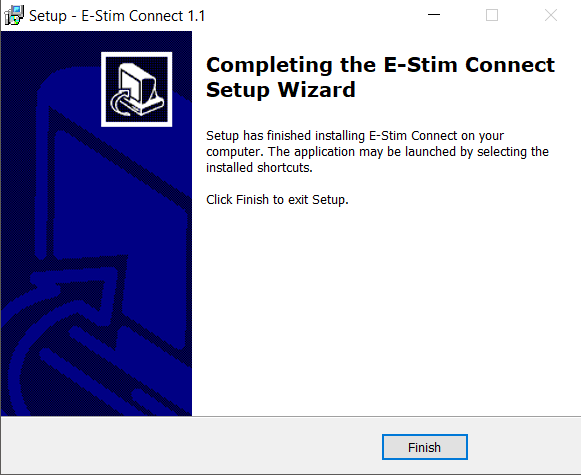
Now click 'Finish' and E-Stim Connect will now be installed on your PC. You should be able to access it from the Desktop Icon (if you selected that option) or within the Windows start Menu under E-Stim Connect. Now you can follow the instructions on how to use E-Stim Connect on a PC.
